


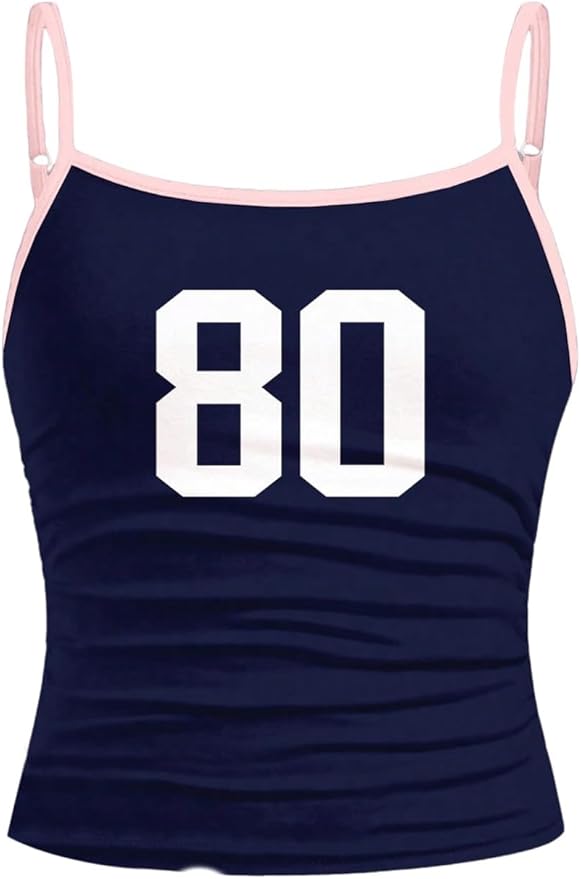
I've been loving this sports jersey for my daughter's training! It's super cute and comfortable.
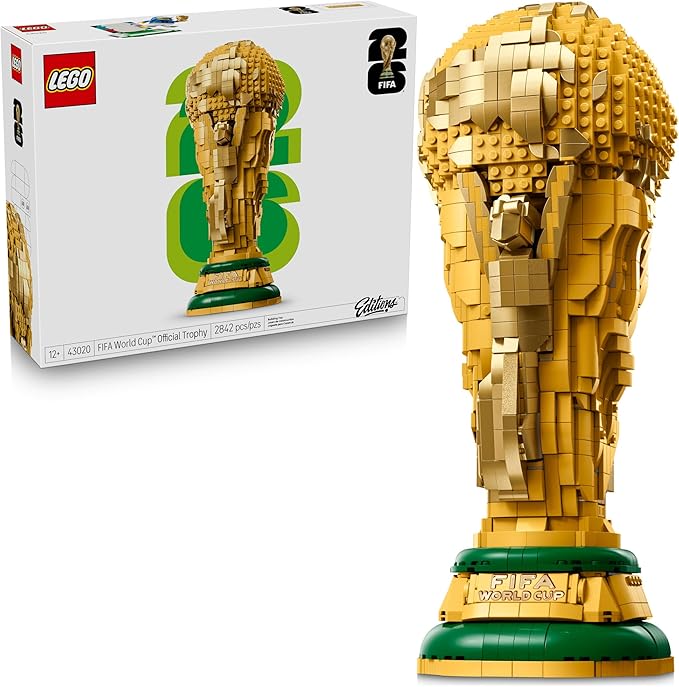
I've built a LEGO trophy for the FIFA World Cup, it's quite impressive!


I've been loving this sports jersey for my daughter's training! It's super cute and comfortable.
I've built a LEGO trophy for the FIFA World Cup, it's quite impressive!